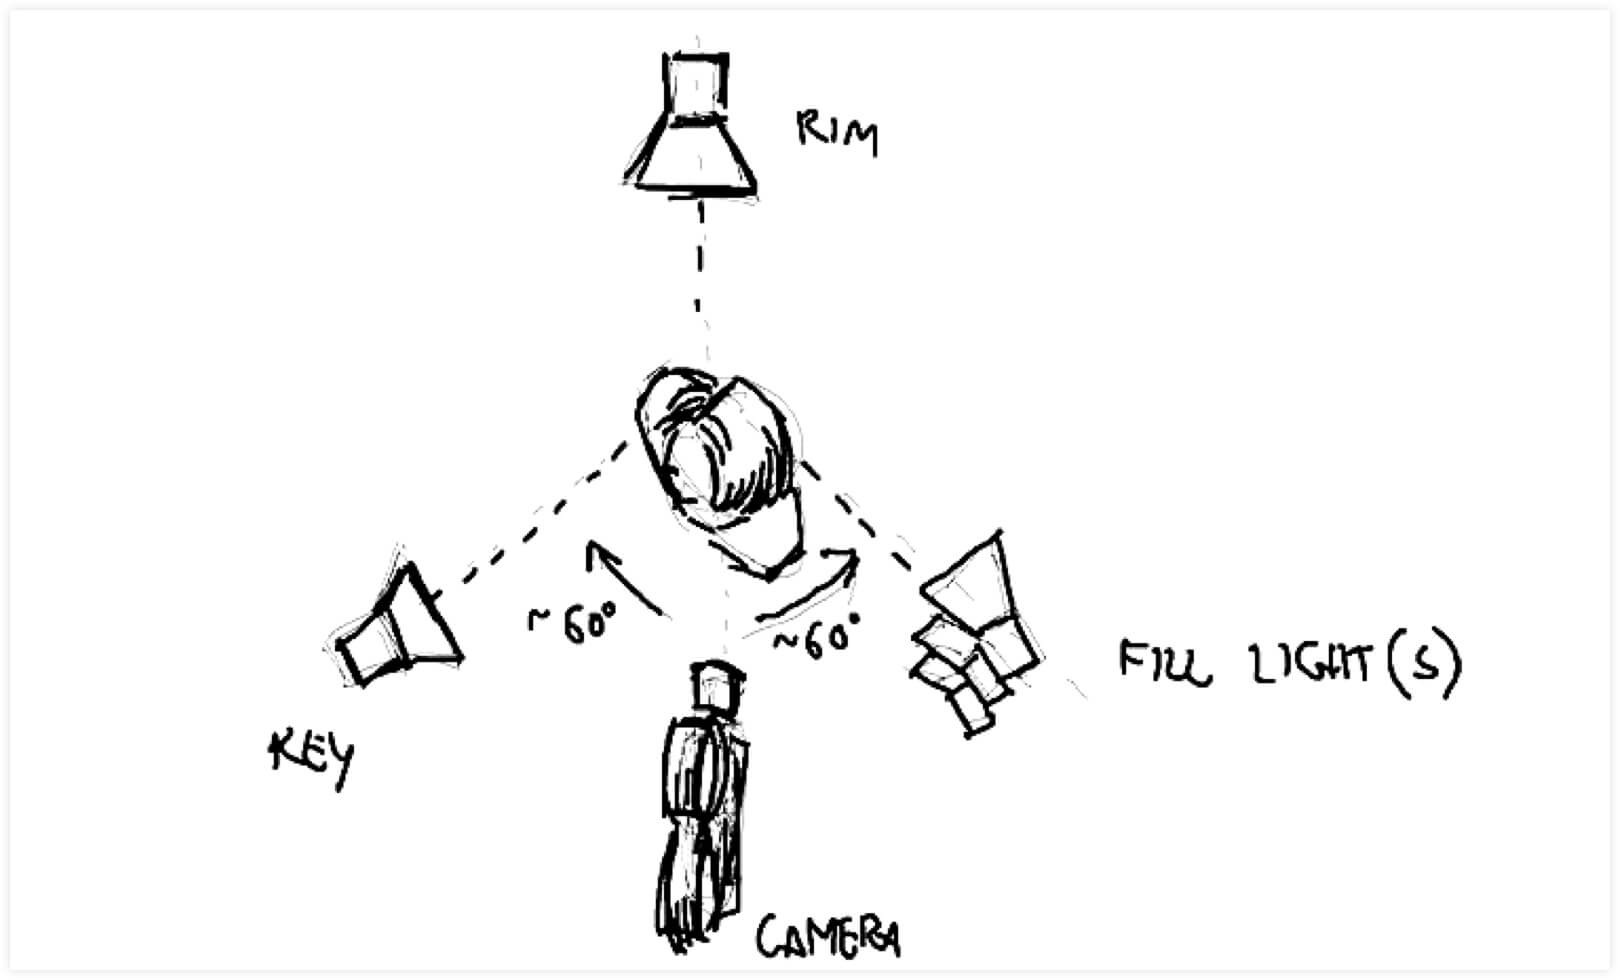
Lighting is crucial in film, despite the fact that it often goes unnoticed by the audience. It sets apart amateur and professional filmmaking, and 3 point lighting is the standard of lighting techniques in Hollywood, referring to the placement of the lights on set, around the subject in frame. Any combination of lighting works, such as 1 or 4, but 3 is the most commonly used. 2 cameras are placed in front of the subject and 1 behind them. The two front ones are the key and fill light, the one behind the back light.
The key light is the main one on set, as it is the brightest and covers the subjects face the most. This can be a side, frontal or high angle light. The most common key light comes from a 45 degree angle In front of the subjects face. This forms a triangle shaped light on their face, which is also known as the Rembrandt light.
The key light is on the other side of the key light. It’s purpose is to fill in the shadows given by the key light. It is common to place it opposite the key light while dimming done the brightness to avoid flattening out the subjects face. Sometimes the fill light is just a reflector board utilising the key light, reflecting it back at the subject. Sometimes fill lights aren’t used at all, if the shadows are there for a reason or do not make much difference to the film.
The backlight’s purpose is to separate the subject from the background. It is most commonly placed 45 degrees behind the subject, illuminating their shoulders and the back of their head. There is also a hair light, placed directly behind the subject giving a halo effect and illuminating the shoulders and back of head. The rim light is placed far off to the side of the subject to illuminate the chin and the jaw.
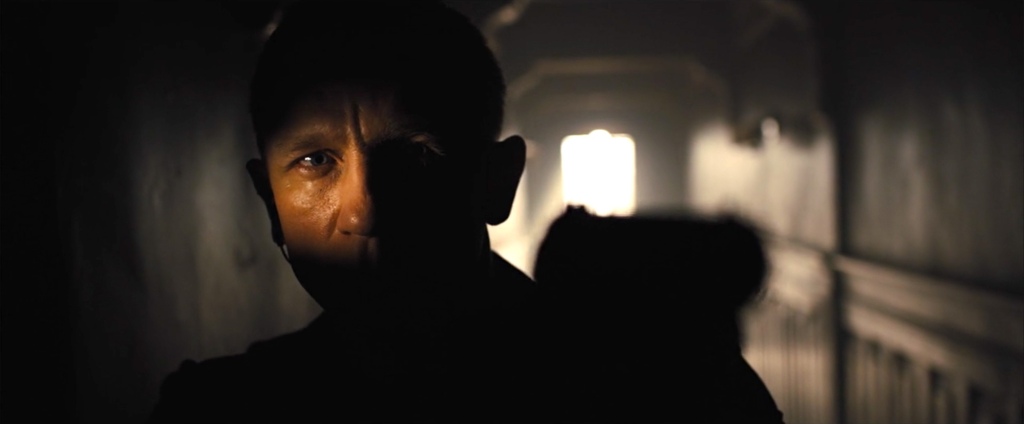
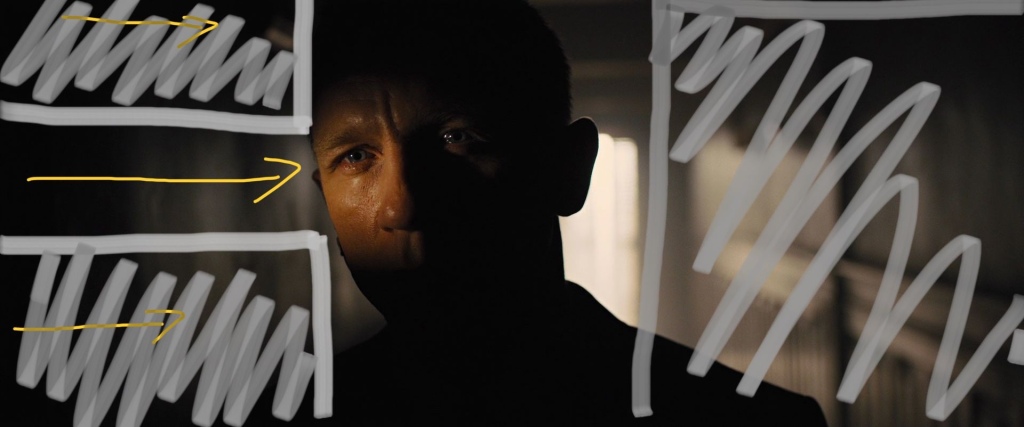
Low-key lighting is characterised by stored shadows with deep blacks with areas of highlights. It is done by using minimal light, such as using a single backlight. High-key lighting evens exposure across the frame with minimal contrast and a more illuminated image overall, often leaving few shadows. Hard/direct light comes from shining a light source directly onto a subject, resulting in defined shadows with clear separation lines between light and dark. Soft/diffused light produces shadows with softer edges and less defined shadows with less sharp separation between light and dark areas in frame. This can be used by bouncing light off a surface or shining it through a diffusion, or both! Textiles, bedsheets, shower curtains and wrapping paper are homemade ways of producing soft-light in films. Many combinations can be used in lighting to create new types, such as when the fill light is taken away to create low key lighting because the overall lighting hitting the subjects face is low. The more light is diffused, the lower the overall illumination in a film is.
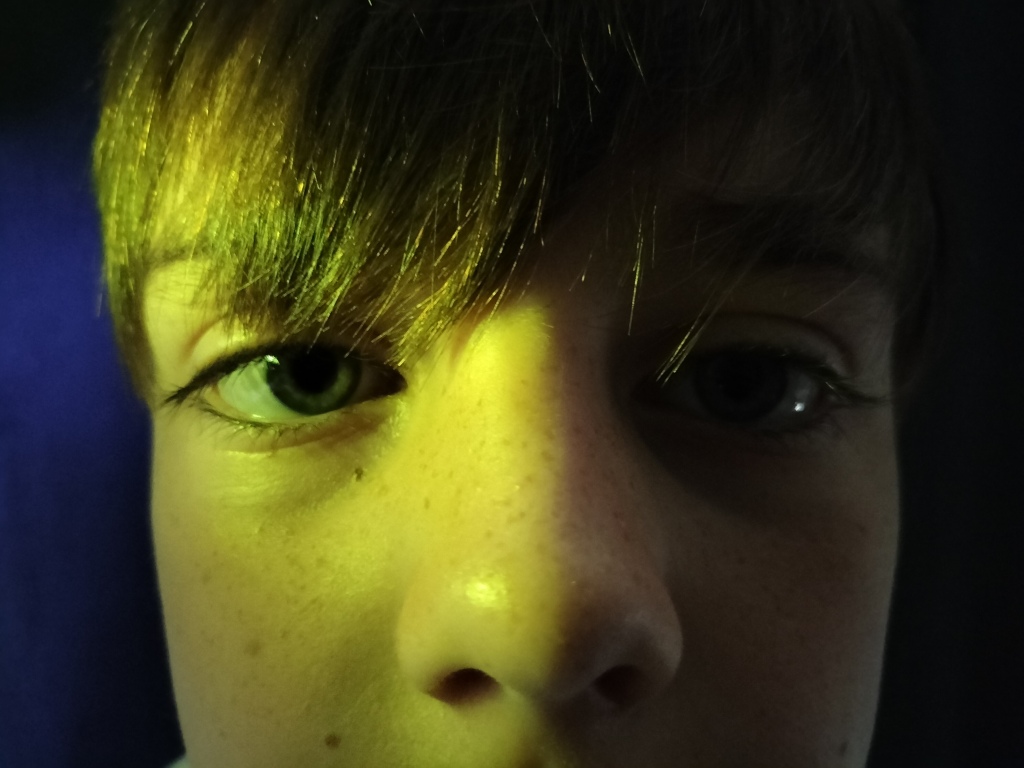
Colour temperature can also be used to create contrast, such as a subject being illuminated by a warm, tungsten light against a cooler, more blue background can separate the two more, creating depth between them, even if the result is a more soft separation line. This can be done by shining lights through coloured screen to create lights with different colour tints or a hue covering the entire frame.
As there can be a realist and expressionist approach to filmmaking narrative, naturalistic and expressionist lighting can be used. Naturalistic involves using natural, ambient light to create a more realistic scene. Expressionist lighting involves altering things like light colour, shape and quality of light to create an effect on the audience, even if it is not realistic/natural as a result. Naturalistic techniques can be examining where ambient, real light exists on a set and using artificial lighting to emulate and enhance it accurately, or using black textiles to subtract light and therefore create more shadow while retaining a realistic shape to the light, which is known as negative fill.
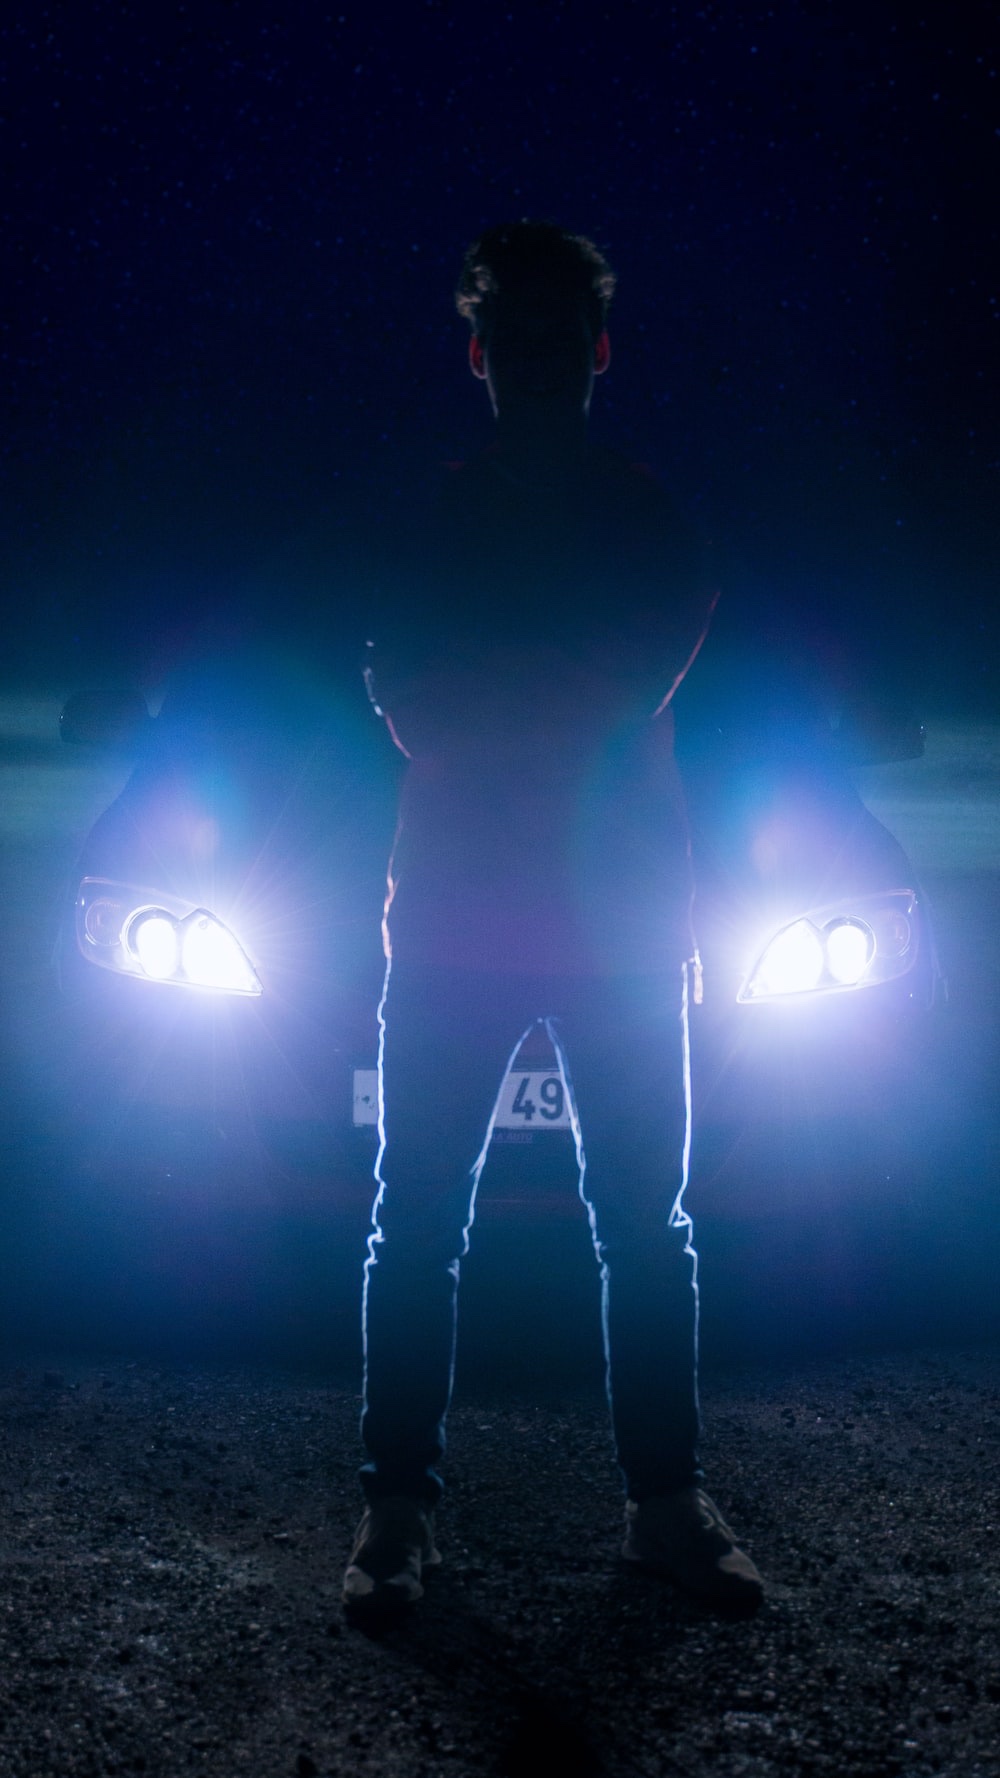
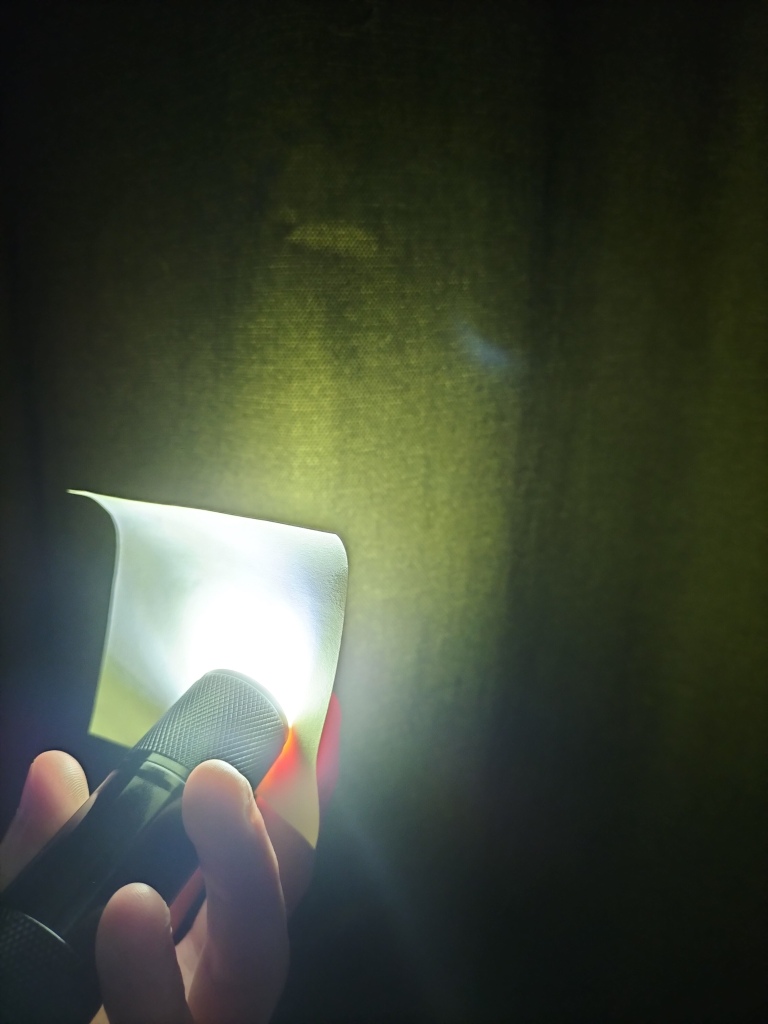
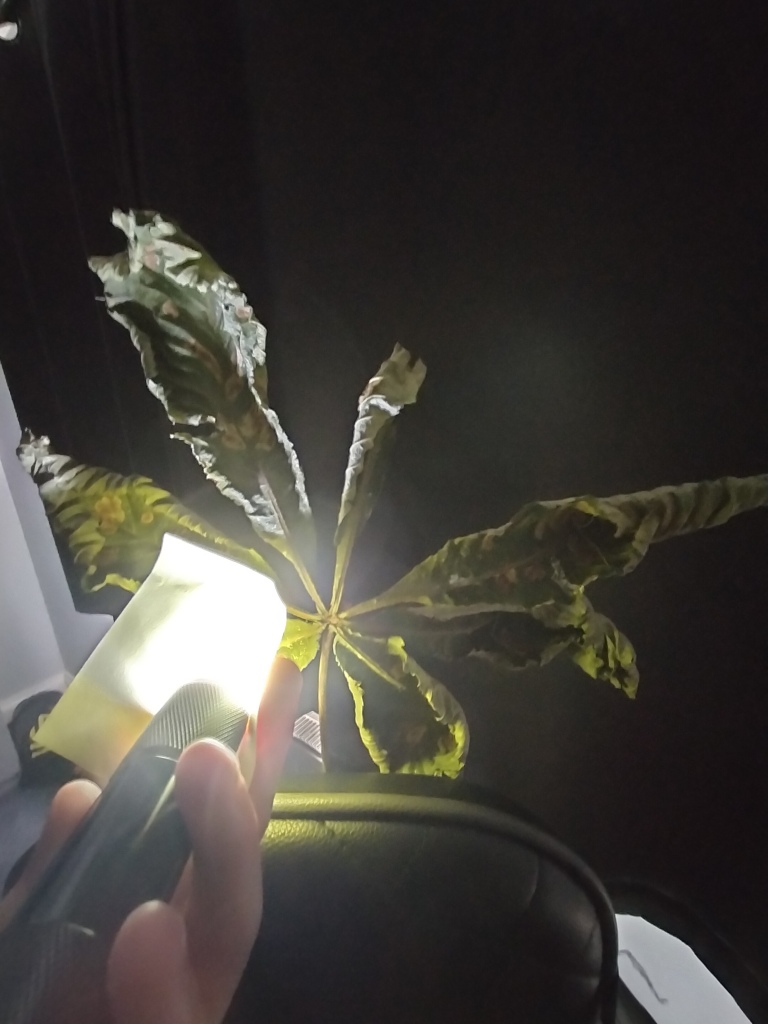
For my film, I will need to find different methods of creating proper lighting in scenes. As the film takes place at day in a naturally well lit office, it wont take up much time, if any. However, for my other short film, which has a scene that takes place at night, this will be more important. I can use torches held behind sheets kept out of frame, or car headlights for a natural backlight. For another short film that I plan on making, I will experiment with coloured screens to shine light through to add a hue to the shot with the purpose of having an effect on the audience, reflecting emotion, or creating an atmosphere that adds depth to the shot.


You must be logged in to post a comment.